How to Use the App
-
Install the app.
Install from the Mac App Store. Grant microphone permissions if the KVM page requests audio.

-
Open App Settings and set your KVM URL.
Select or add a tab, enter your KVM address (e.g.,
http://10.0.100.185), choose the provider (GL.iNET or JetKVM), and add the optional admin password if required. Click Save to persist changes. Tabs and preferences persist across relaunches.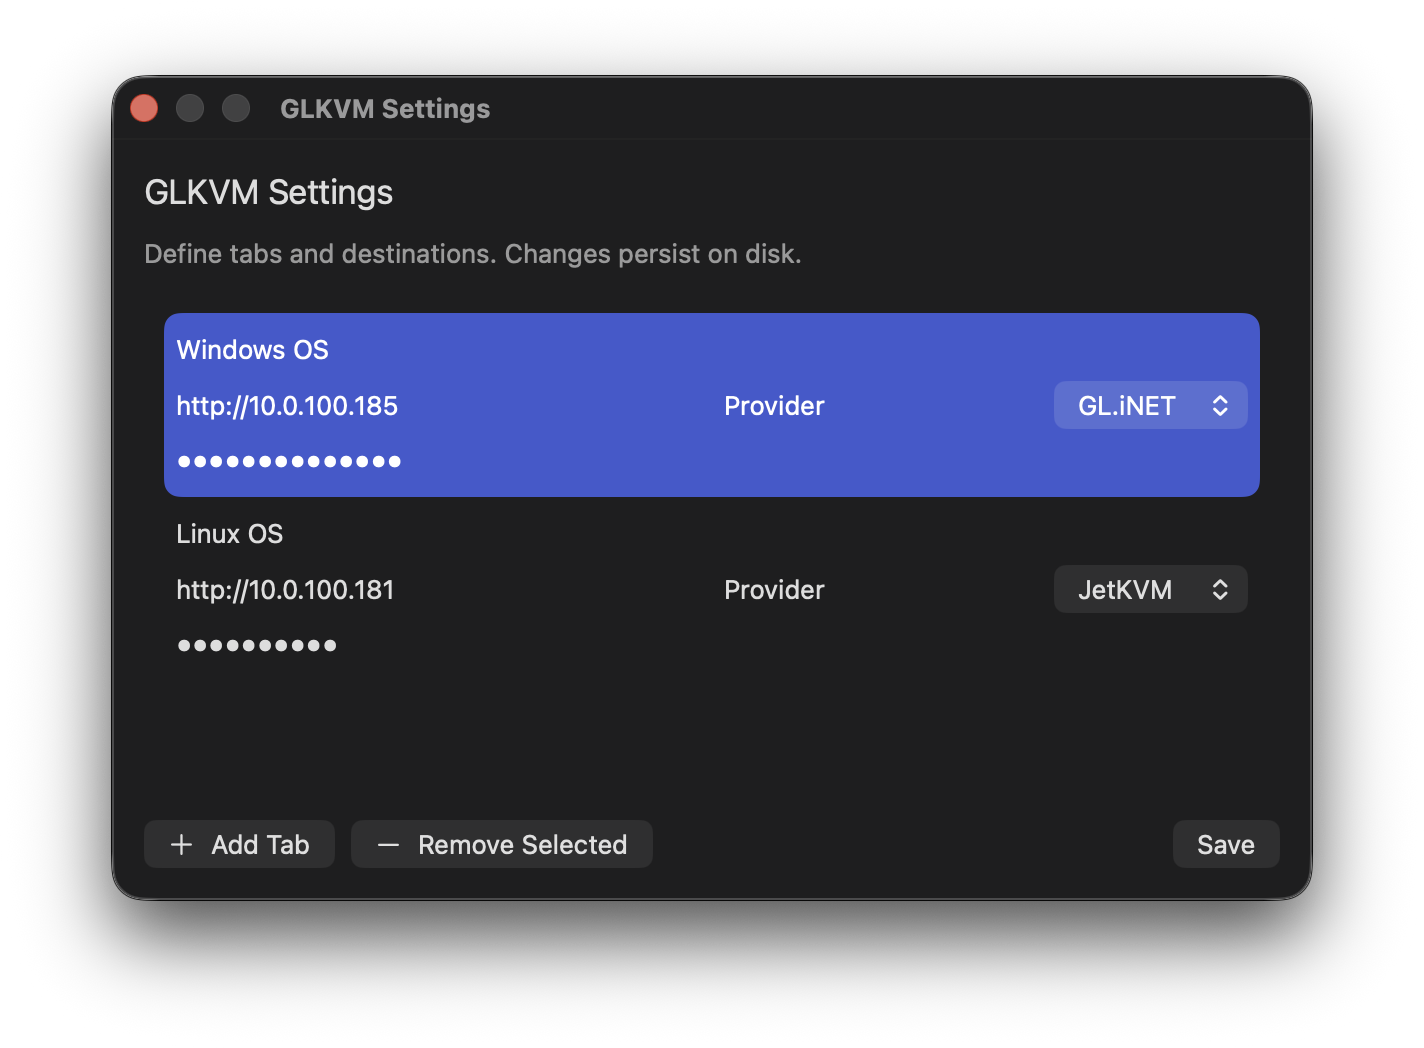
Connection settings in the app: name tabs, set URL, pick provider, optionally set a password, then Save. -
Adjust KVM Settings (in-device panel).
From the KVM interface, use the Settings panel to control video quality and remote device options (speaker, microphone, keyboard, mouse). The app improves macOS behavior for shortcuts, clicks, and scrolling.

KVM Settings panel controlling video and device behavior. -
Use Virtual Media to mount ISOs or files.
From the KVM interface, open Virtual Media to mount an ISO, disk image, or files directly to the remote host.
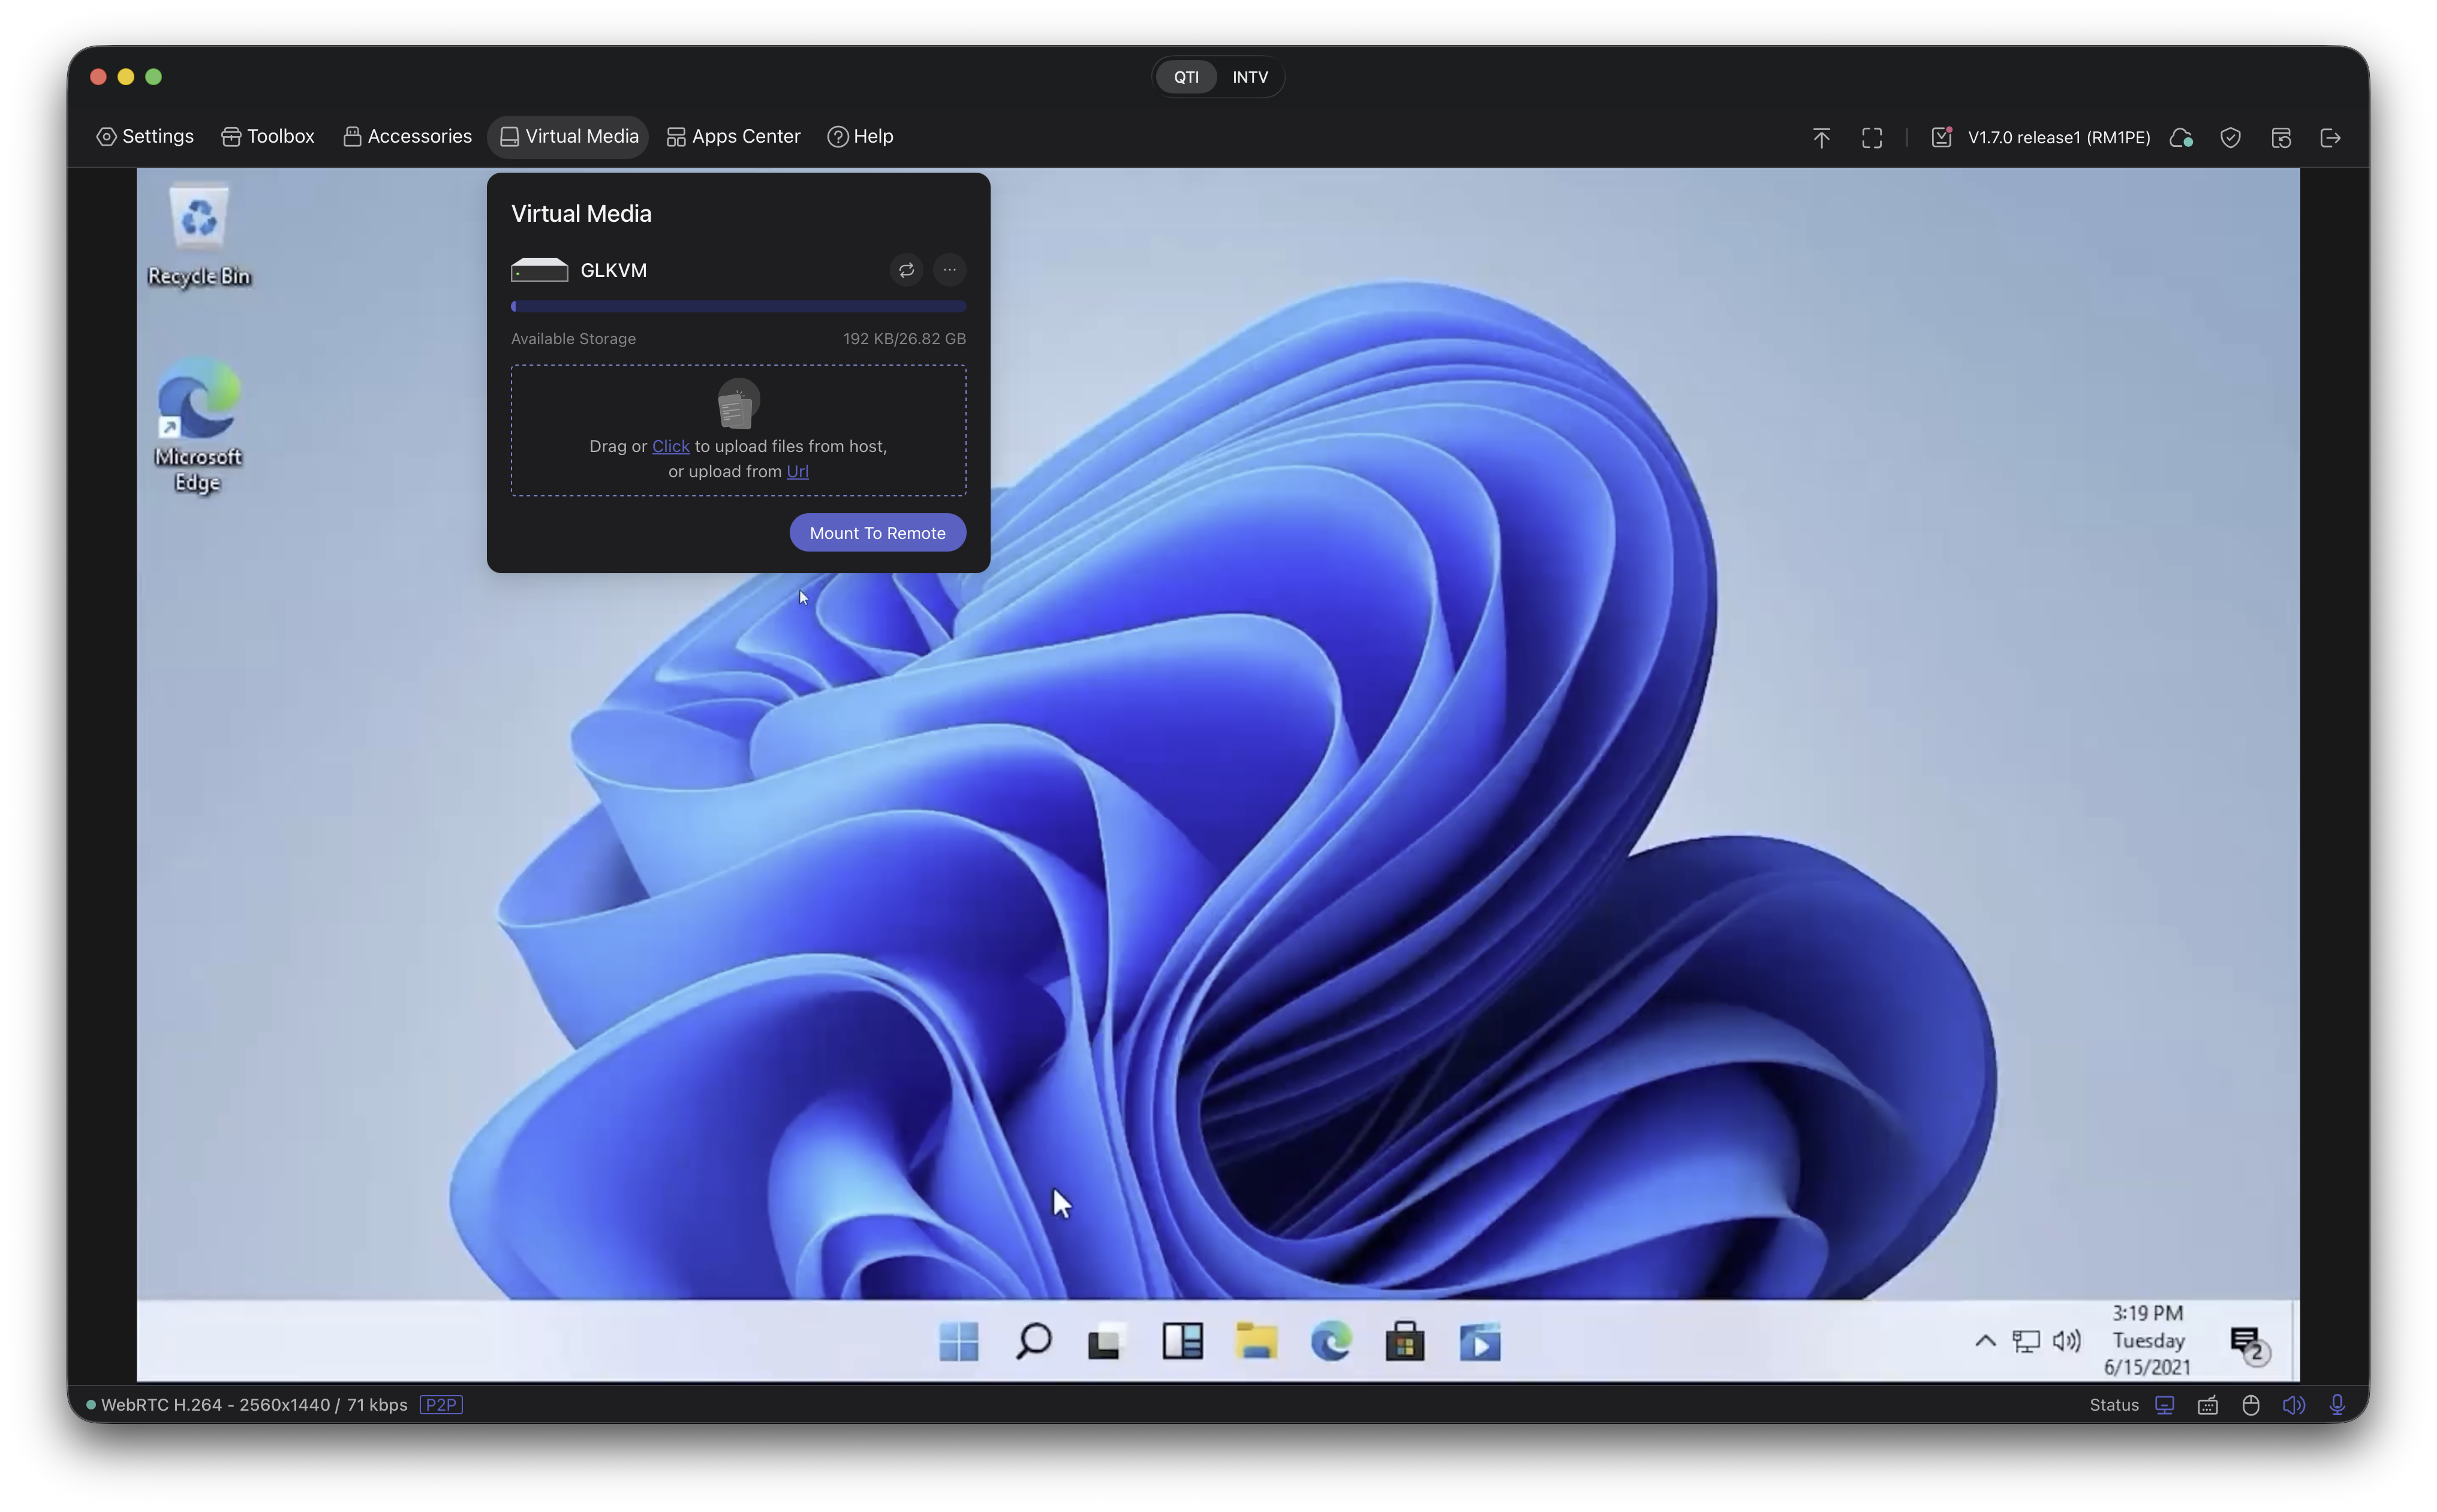
Virtual Media workflow exposed directly in the app window. -
Toolbox options (in-device panel).
Use the KVM’s Toolbox to quickly access device toggles and session options while connected.
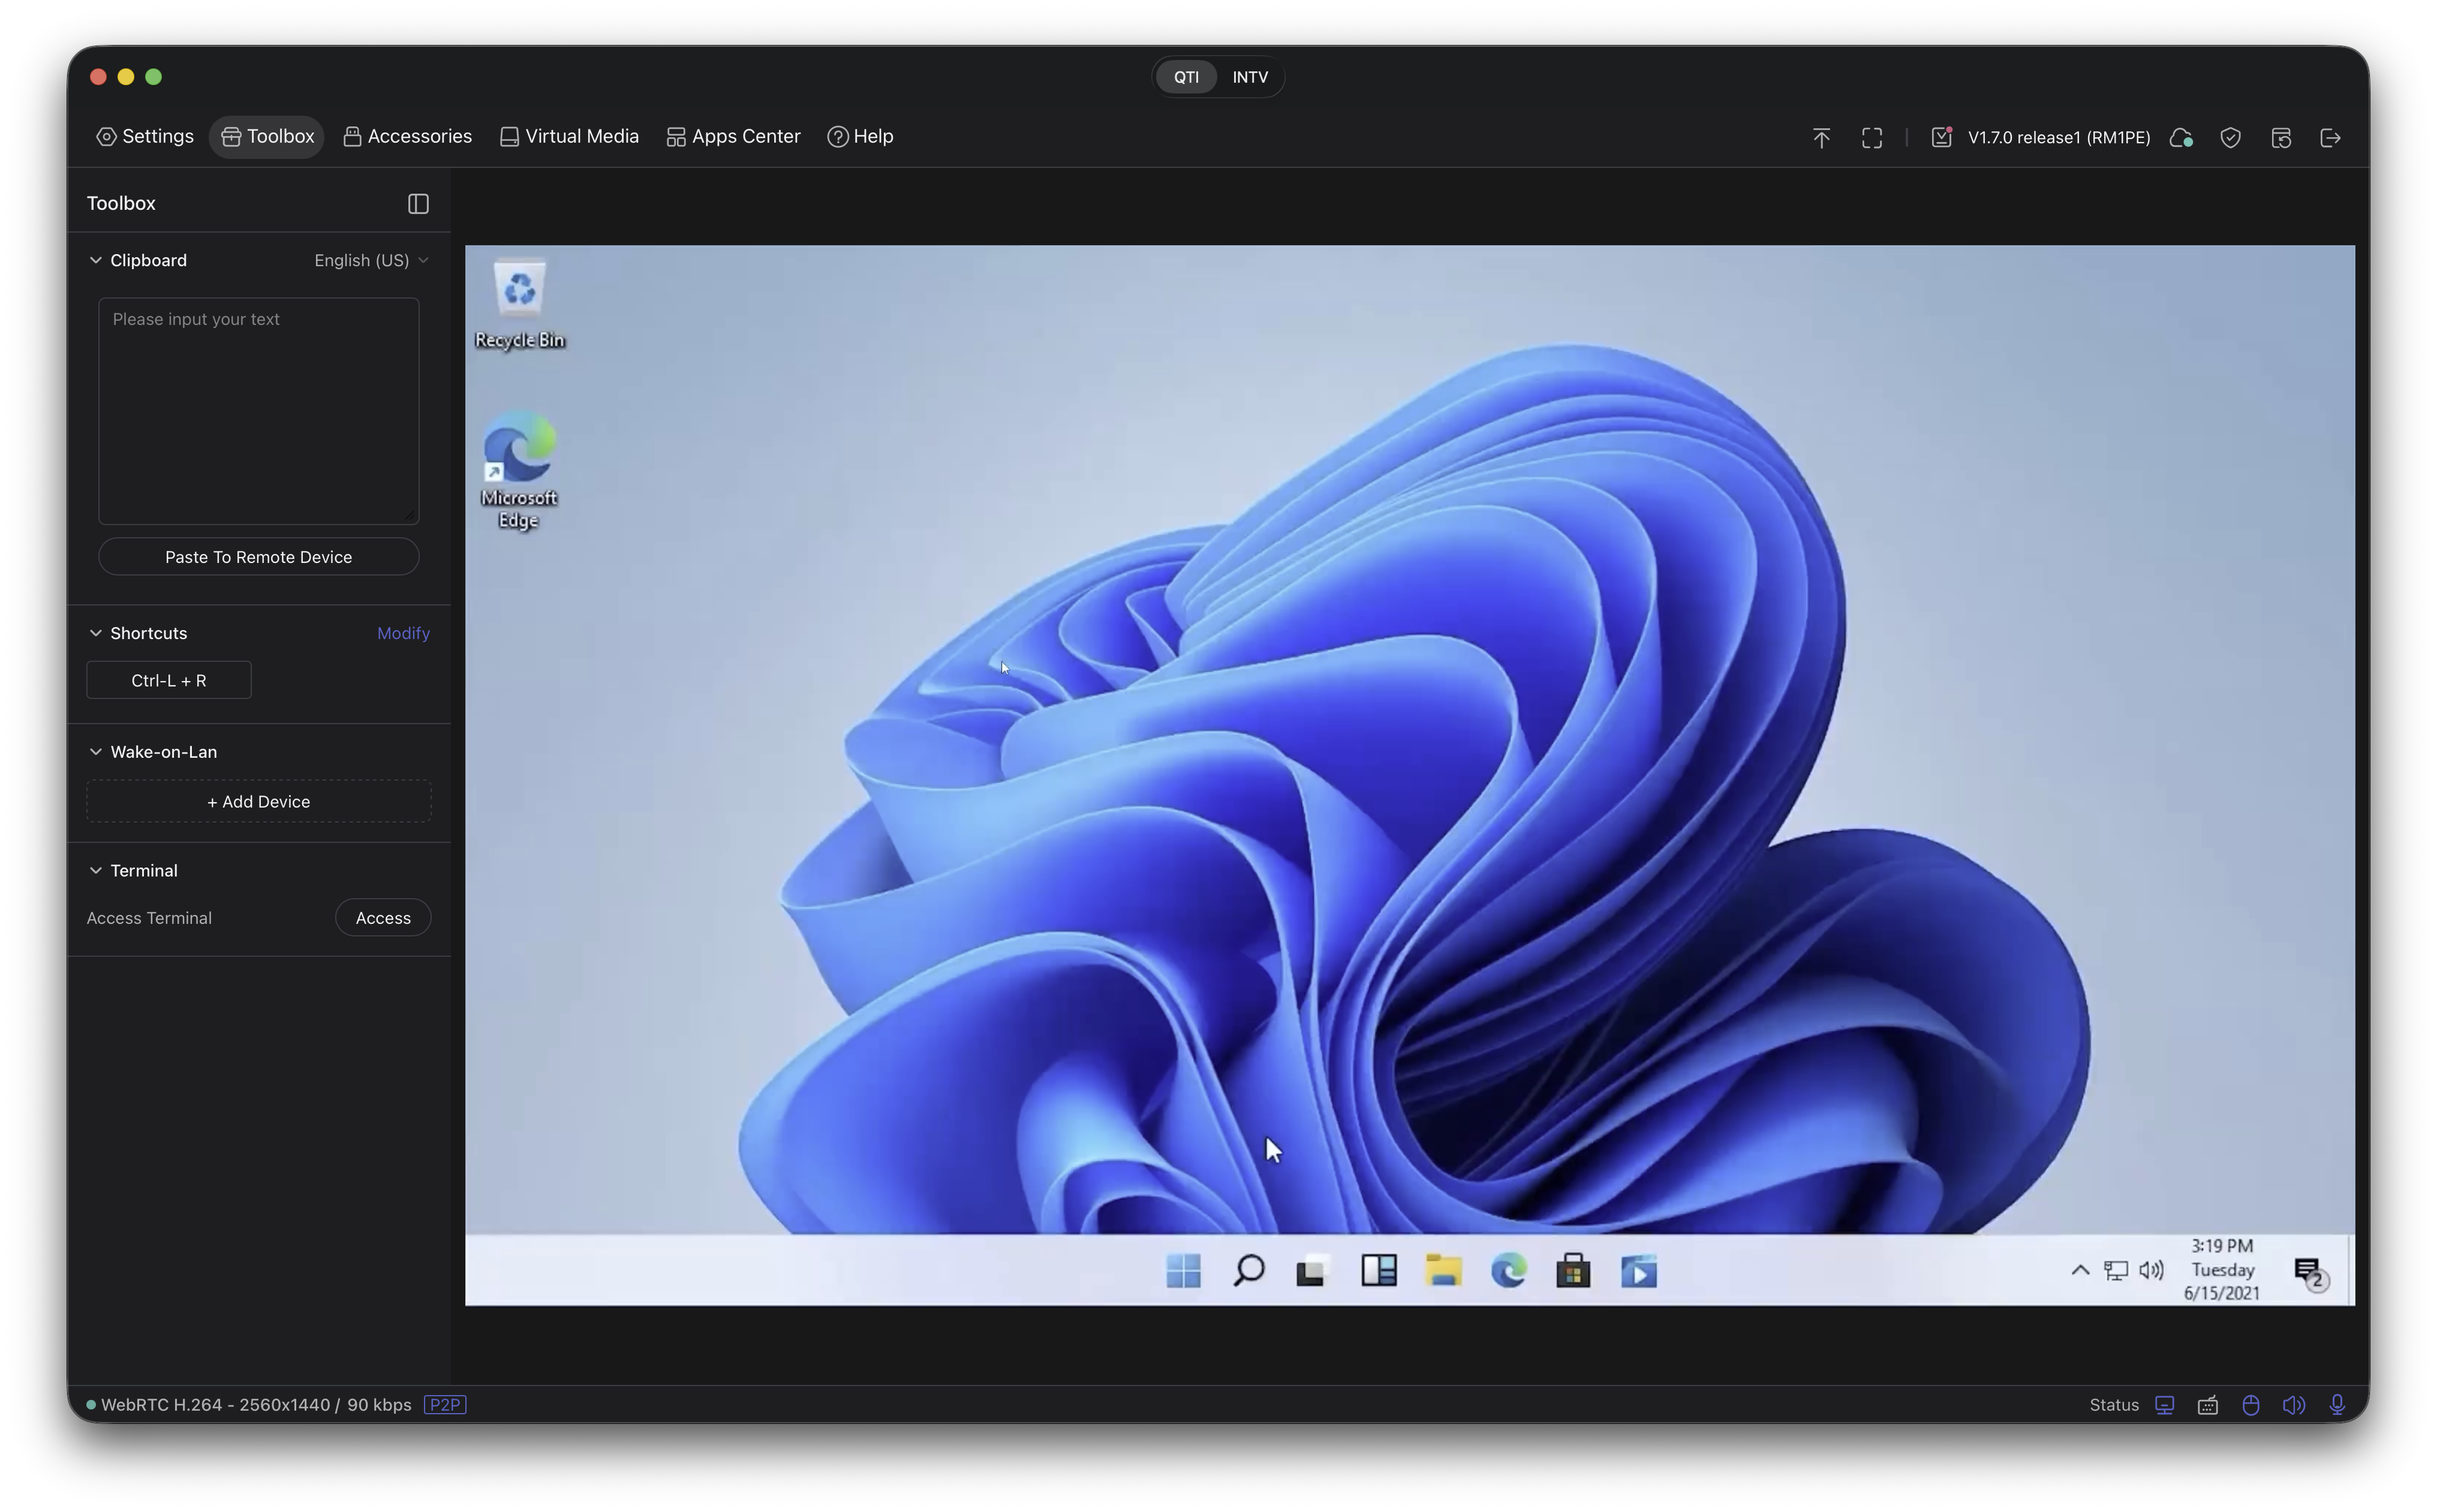
Toolbox controls for quick adjustments during a session. -
Session view (example).
Use the app window to access your remote desktop with reliable keyboard shortcuts and improved click/scroll handling.
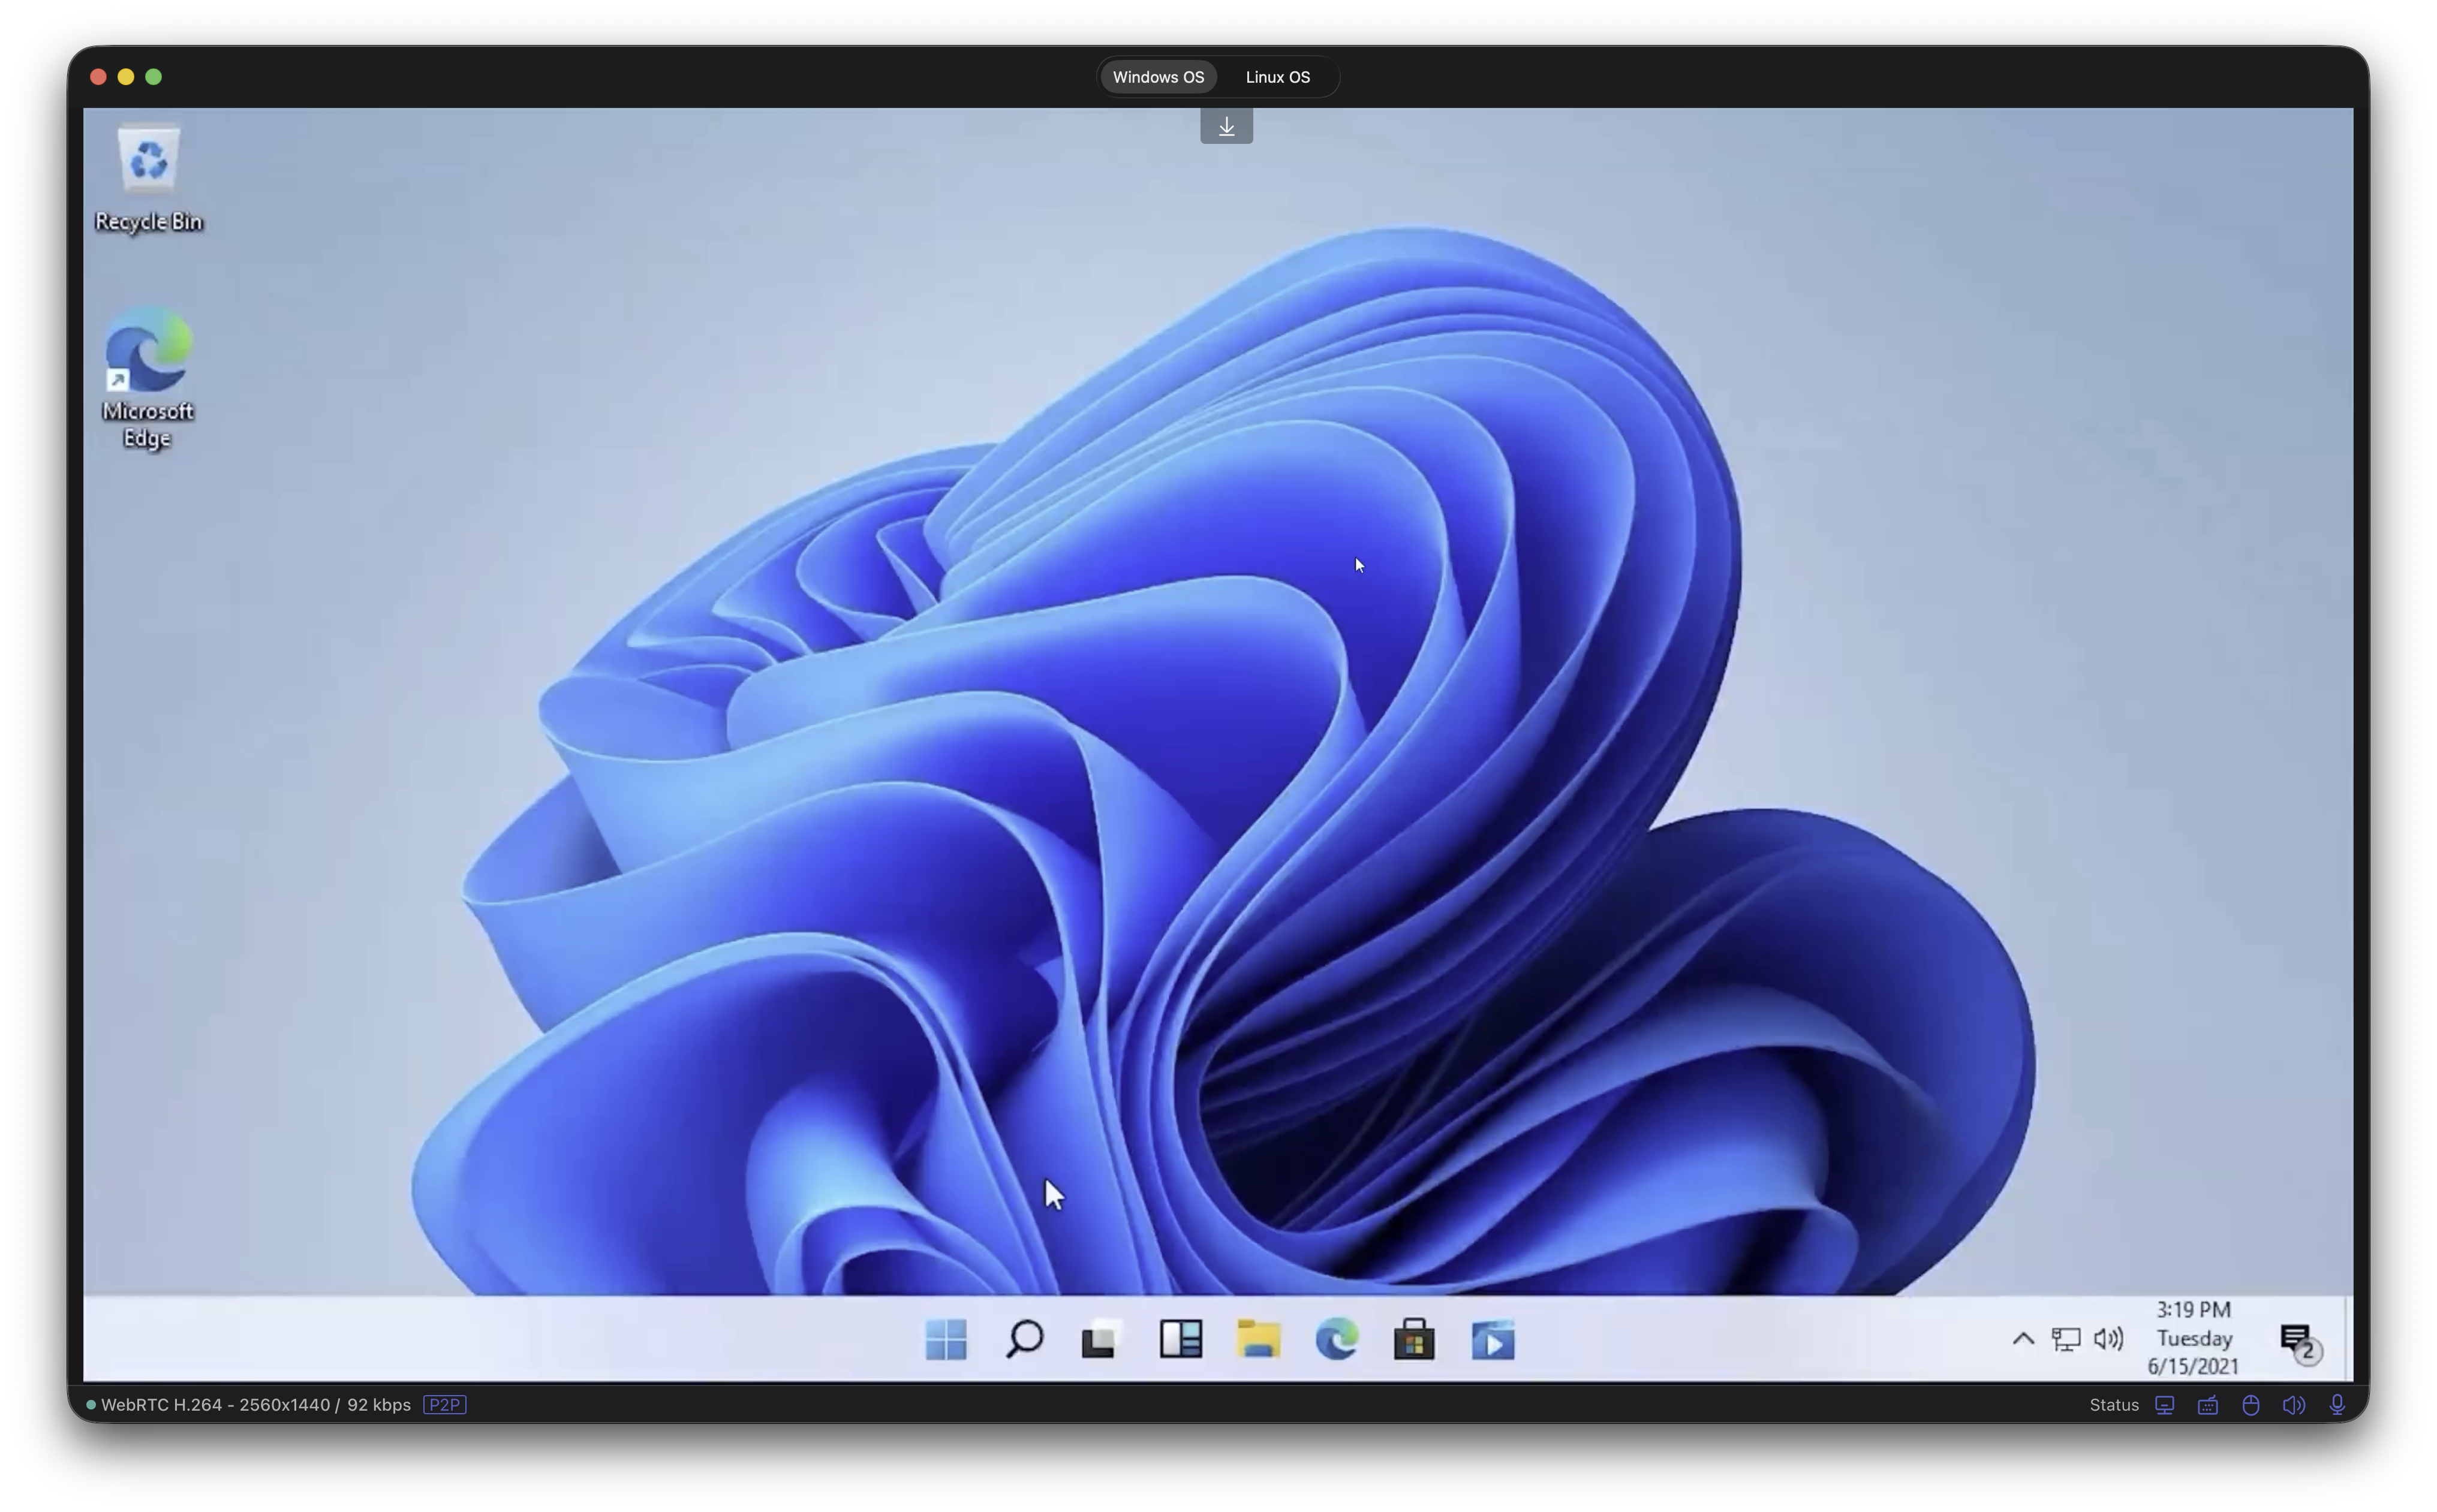
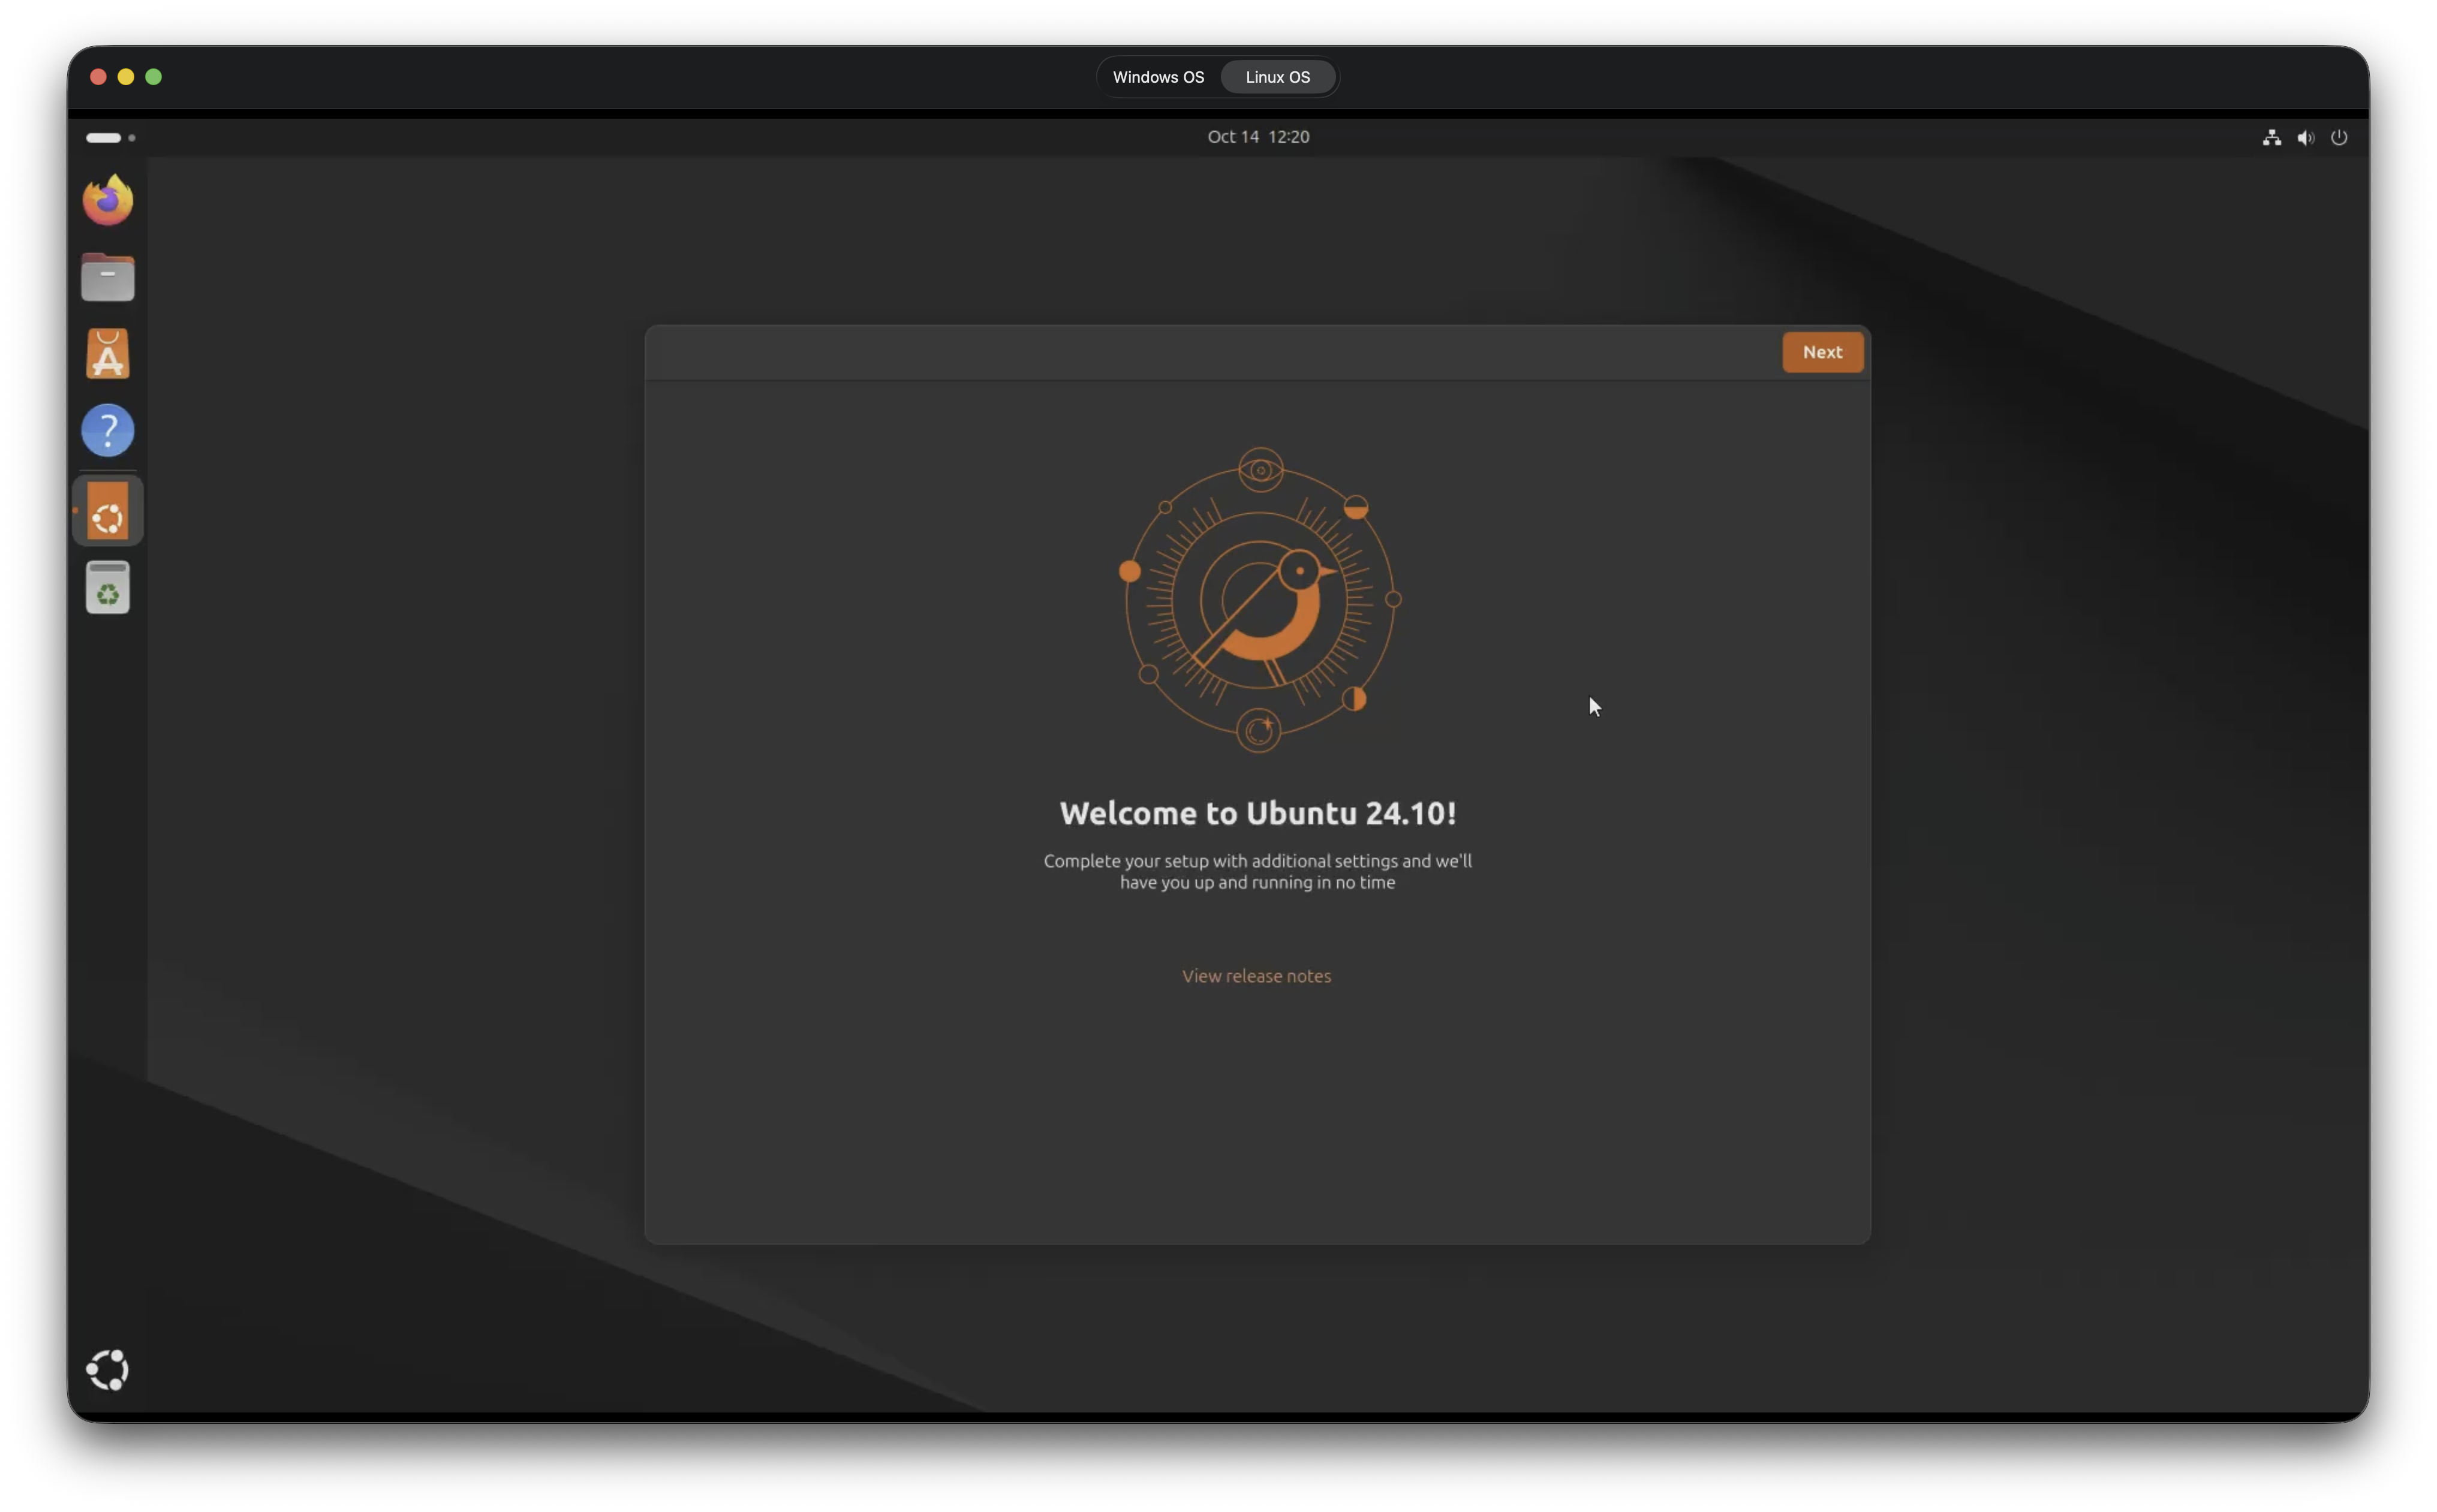
Windows and Linux desktops connected via the KVM, shown together. -
Audio devices (important notes).
- Microphone: The app prioritizes the selected microphone for WebRTC capture when pages request audio.
- Output: On macOS, WebKit pages output to the system default device. If you need per‑app output routing, use a virtual device tool (e.g., Rogue Amoeba Loopback or BlackHole) and set that as system output.
Troubleshooting
- No audio: Check macOS input permissions and ensure the KVM page requests microphone access.
- Keyboard shortcuts not working: Verify modifier keys in the KVM UI and try toggling the app’s keyboard preferences.
- Mouse cursor issues: Switch between Absolute and Relative mouse modes in the KVM UI.
Place screenshots in assets/images/ with filenames used above to display them here.